New season, new accessories! But help! I’m broke! Whatever am I gonna do?
As so often, the answer could be found within the abundance of my arts and crafts drawers. Since the last time I had made a bunch of accessories for myself to wear, I had already come up with sooo, so many ideas on how to multiply those numbers by infinity. And it just so coincides that I could match them up perfectly with my fall-time wardrobe!
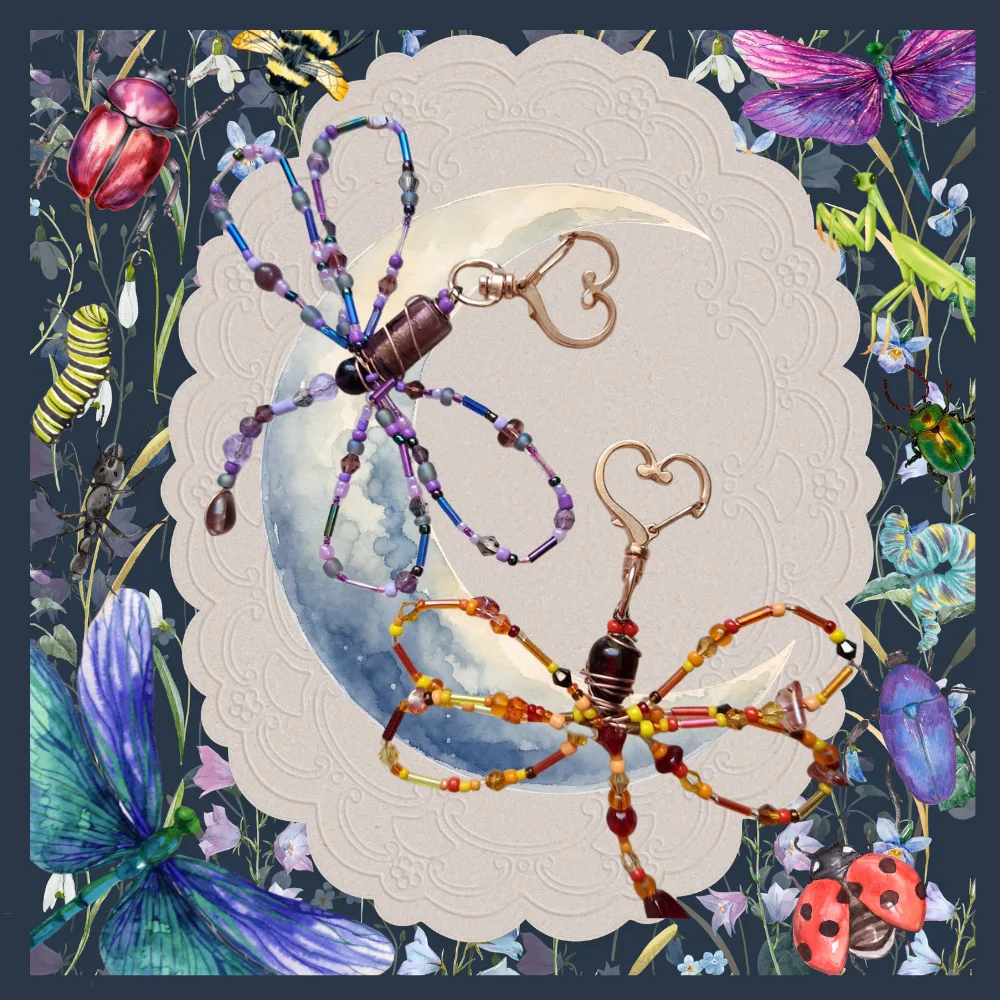
One of the entirely new things I tried for this fall was making beaded insects out of wire and glass beads. And tbh, I couldn’t be more pleased. They turned out drop-dead gorgeous, and I love them so much. They also are surprisingly stable, and I attached them to keychain hooks, so now they can dangle anywhere. I chose an orange-red-yellow palette for my first and purple for the second… there is a theme here hahah.
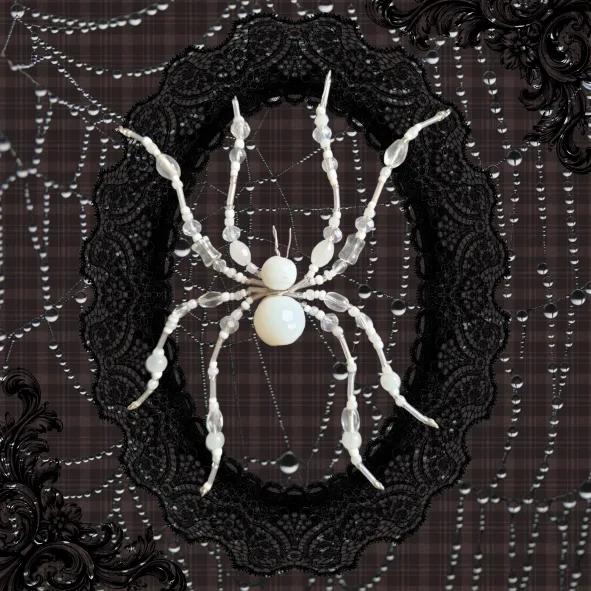
My most prized creation, however, was a white spider that unfortunately is a bit too delicate to be used as a keychain. I’m hoping to wear her as a necklace, once I figure out an attachment.
I made the beaded insects by making the body from large glass beads first, putting the beads onto the wire and bending it to shape, then securing it with twists. Then, for the appendages, I wrapped new pieces of wire in the gaps of the pearls, put beads onto them, and finally bent them into shape.
I also got started on a new batch of air-dry clay I had ordered from a local craft supply business, and I was quite pleased. The half a kilo got me quite far, although I have arguably lost my mind again and made way too many things.
Since last time, I’ve simply had the chance to admire the insane versatility of clay charms and found a million and one possible uses for them. So naturally, I got to work making roughly a hundred more.
This time I had some themes in mind: I wanted a celestial series, insects, mushrooms, and Over the Garden Wall-inspired stuff.
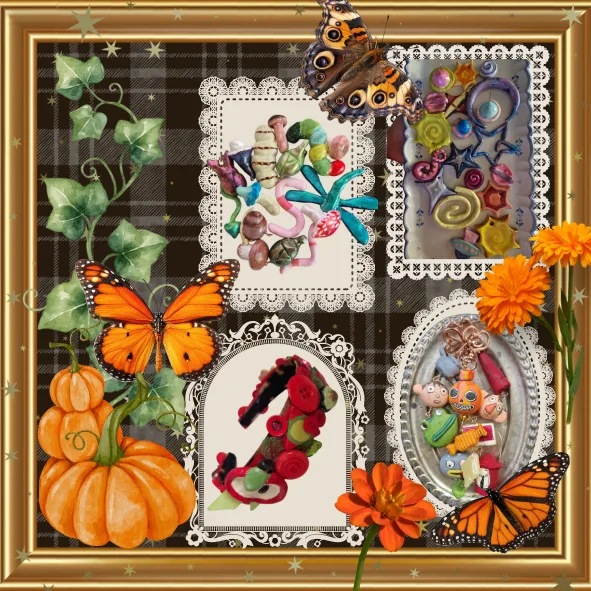
I also had to face the ugly reality that I needed to get some attachments for the clay charms, so I splurged a little and what can I say. Mounts, keychain clips, and pin backs are secured for about 20 more generations to come. After all, I have my pride in being a hoarder.
Once everything arrived, I couldn’t help but just had to glue literally anything to my new ring mounts. I found that buttons, beads, and clay worked best!
Back on the Matter of Clay
Here’s a little guide.
Methods I used in the making of clay charms are:
Hand-sculpting the little shapes and figures. Mostly pull-and-roll, squish-and-shape techniques.
Adding wire before the clay dries. There are two ways to attach hooks: the first is to already bend the hook, secure it as desired, and then shape the other end into a corkscrew-like spiral to drill into the soft clay.
The other way is to create hooks on both ends. For this, simply stick the piece of wire through the clay straight until it pierces out the other way. Leave it straight until after drying and painting.
For the paint jobs, I used different methods.
The more shimmery and shiny charms were painted with nail polish, something I have an utmost wealth of due to gracious friends and numerous lucky thrift finds.
The other method, which was more suited to my Over the Garden Wall keychains, was applying miniature acrylic paints. Those really worked a charm. Unfortunately, the black fineliner I added details with smudged a little.
Lastly, I added a finish of UV resin to my most gorgeous charms. This added tons of gorgeousness because it gives a beautiful glossy finish and smooths out imperfections.
It is, however, somewhat pricey and tedious, depending on how good your UV light is. It does numbers on the longevity of clay charms, though, so I had to add it to some pieces at least.
Buttons!
A fun little side craft I did was to mount buttons to plain ring mounts and earrings, and I think that turned out so cute.
I wish, however, I had a better variety of lovely thrifted and vintage buttons. Mine are from the craft store, and they just feel a little bit extra clean and polished to me. Having variety in shape, material, and texture would be nice.
Paper Star Jewelry
The next collection is something I feel particularly proud of: finally putting some of those paper stars to good use!!!
I have phases where the only thing in the world that can calm me is folding hundreds. And I mean HUNDREDS! Of tiny paper stars.
While generally ending up as a cat toy, some I save. Others I made for this project entirely, and I do attest: it was as enjoyable as always.
The next step was turning them into jewelry. Gorgeous jewelry, actually, but maybe that’s just me.
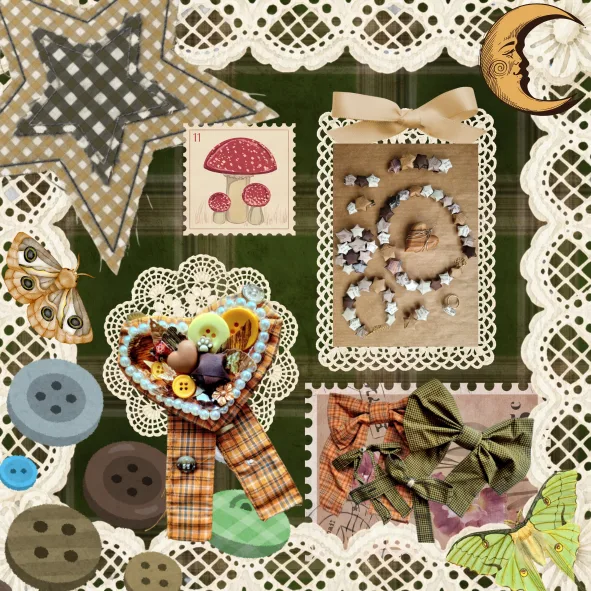
By piercing them with a needle, I could make beads out of them. Gluing them onto brooch and alligator clips: tada! Fashionable hair wear.
Eventually, I ended up with a very considerable set of jewelry from… paper.
I love it.
So much even, that I got out the dreaded UV resin once more and coated my most delicate star pieces for durability.
I really can’t wait to style them for this fall.
Overdimensional Bow Clips
Another thing I can’t miss out on are obviously oversized bow clips from scrap fabric.
I needed something fallsy for my hair or as a statement piece and was not disappointed by the scraps of yellow and orange plaid cotton I had left over from a secret cosplay project.
I used a very standard method for making big no-sew bows you can find anywhere on YouTube, etc. It was basically all hot glue where stitching would go.
Slightly shameful, but very effective.
With my new hair clip mounts, it was a matter of minutes to take them from fabric scraps all the way into my hair.
Crystal Pendants
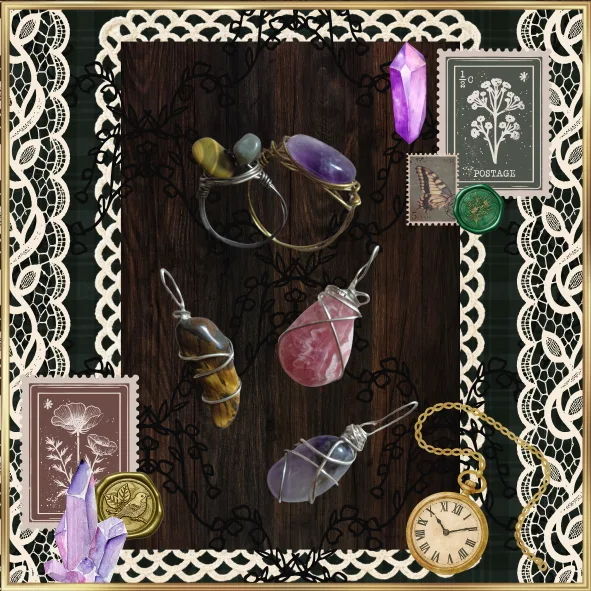
I also made good on wire-wrapping some crystals to make even more diverse pendants.
They turned out semi-nice, and I might lack the patience for this craft, but I’ll still give them a go this season and see if I want to keep them or unwrap them again.
That’s what I love about having an ever-changing and evolving DIY closet.
It’s just not that serious.